A Dicey Obstacle Course

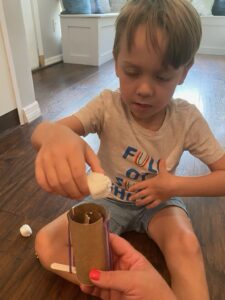
Time to get the kids outdoors for some physical and mental fitness, leaving their pathway to fun to the roll of a die! This fun game can be played with a friend as a race or with just one player to celebrate their athletic accomplishment. Kids will be exercising their muscles and coordination with a little adventure mixed in!


A Dicey Obstacle Course
Materials Needed:
  • Die
  • Pencil & paper
  • A space large enough for movement, like a lawn, driveway, or park area
  • Tape or chalk

Step 1: Brainstorm 6 specific movements that would be fun, and slightly challenging to your child. Or choose from our list!* 

  1. Jumping jack
  2. Hop on one foot
  3. Spin in a circle
  4. Bunny hop
  5. Banana split step (one foot in front of the other as far as you can go without putting hands on ground)
  6. Crab walk (put your hands on the ground behind you and without letting your backside touch the ground walk on all fours)


More Examples: 

  • Burpee (jump up, then crouch down, walk your hands out to a plank position, then walk your feet up to meet your hands and stand up)
  • Backward Step*


Step 2: Write the six movements down on a piece of paper, assigning them each a number between 1-6. 

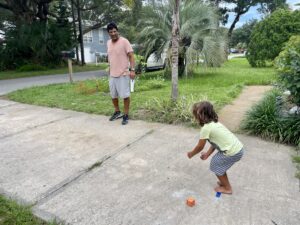
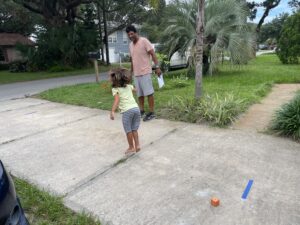
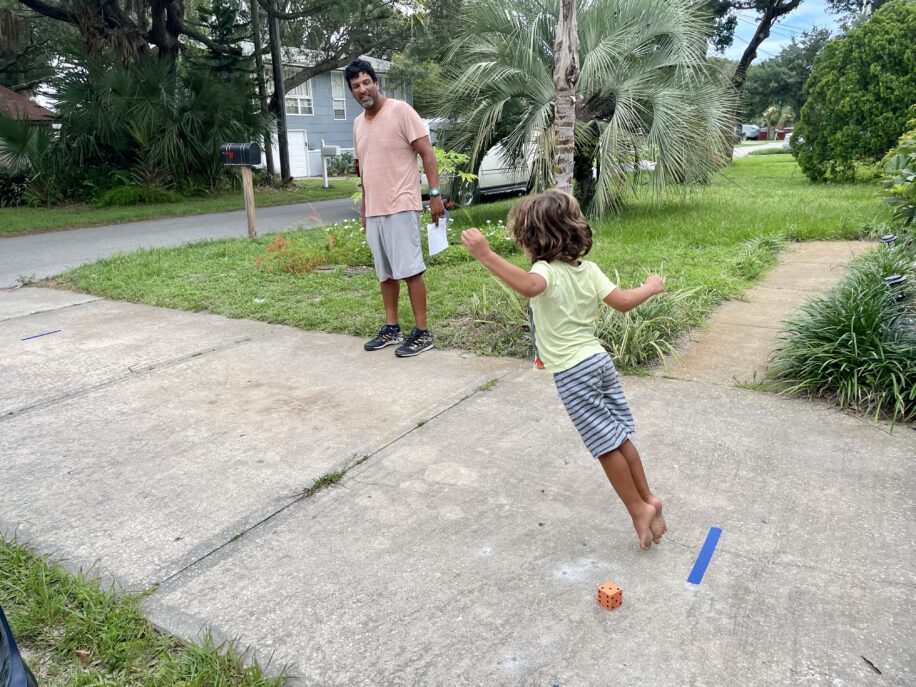
Step 3: Determine a Starting point in an area and mark it with tape or chalk. Then, count off 15-20 giant steps and mark a “Finish” line with the tape or chalk. 

Step 4: Roll the first die to see what movement* you get, and then roll the second die to see how many of those movements you must do in order to move toward the finish line.

For example: Rolling a #5 and a #6 would mean you take 6 Banana Split steps forward.

*Note: (some of the moves can create forward progress, some will keep you in the same position, and others could push your position back)


Make the moves as challenging as you want,
and Have fun!

Look Through My Weather Window!

My Own Weather Window  

Is the sky ALWAYS Blue? Or, if we are being clever observers, could we notice differences in shades? And might those different shades teach us something about forecasting the weather? This activity will help you make better observations ~ the first step to becoming a Junior Meteorologist!

IMG_1797
Materials Needed:
  • Crayons or paint color samples in shades of blue & grays
  • White Poster Board
  • Scissors or Craft Knife
  • Ruler
  • Pencil
 

Step 1: Cut poster board into a (determine appropriate size here) rectangle/square 

Step 2: Draw a 2-inch border and cut out the inside to create a “frame”

Step 3: Mark off every 2 inches (or so) around the square

Step 4: Color OR glue the BLUE paint samples in each square arranging the colors from lightest to darkest around the frame. (Side A)

Step 5: Repeat on the backside with the GRAY grouping of colors. (Side B)

Step 6: Once dry, Hold the window up to the sky and find your color match! 

Step 7: Make an observation: Is today’s sky a bright clear blue (like a color on Side A?) A milky white? An Ominous dark gray (like a color on Side B?) 

Discussion points:
If you see an ominous gray, what could you predict about the weather? Which color match would signify the best time for a picnic?

While you’re at it… make some more observations! Is it windy? Humid? Hot or cold? Does it look like you’ll need an umbrella soon? Or sunglasses?

Write down your observations, make some predictions, and then present a weather forecast to your friends!!

You’re a great observer and on your way to being a 
Junior Meteorologist!

Cotton Ball Launcher

Cotton Ball Launcher!

Did you know that rubber bands are full of energy? It’s called Potential energy, because they have the potential to make something happen. (Have you ever pulled and released a rubber band? You can feel that energy!) This experiment will let you test and see different forms of energy. Once you send cotton balls flying, you’ll be witnessing Kinetic energy, which is what is happening when an object is in motion. Try this experiment and watch energy in action!

Cotton Ball Launcher

Cotton Ball Launcher

Materials needed: 
  • 2 toilet paper tubes (or a paper towel tube cut in half)
  • A short pencil or stick (popsicle stick would work)
  • 2 thin rubber bands
  • Duct tape
  • Scissors
  • Single hole puncher
  • Cotton balls!

Step 1: Cut one tube in half, length wise.

Step 2: Squeeze the roll so it becomes about half the diameter it was before and tape it in place.

Step 3: Make two holes (either using scissors or a hole punch depending on the shape of your stick) opposite each other a half inch from the end.

Step 4: Slide the pencil or stick all the way through the tube.

Step 5: Using the second tube, cut two slits into the end of the tube about ¼ inch deep and about ½ in apart on one side of the tube; Repeat the same process on the same end of the tube just across from the first two.

Step 6: Loop one rubber band through the slits on one side of the tube and let it hang. Then, repeat with another rubber band through the slits on the other side. (you’ll have two rubber bands hanging)

Step 7: Add a piece of tape over both slits to reinforce the cardboard where the rubber bands are attached.

Step 8: Slide the tube with the pencil/stick into the larger tube so that the pencil is at one end and the rubber bands are at the opposite.

Step 9: Loop each rubber band around the pencil.

Step 10: Hold the tube so that the pencil/stick is at the bottom and place a cotton ball inside the top.

Step 11: Hold your launcher pointing away from any person or animal and pull the pencil back about two inches… Aim & release to see your cotton ball fly!

Discussion points:
The rubber bands store potential energy.
The farther you pull them back the greater the potential energy.
Once you release the bands, the energy becomes “Kinetic” as the cotton balls fly through the air!

How far were you able to launch your cotton ball?